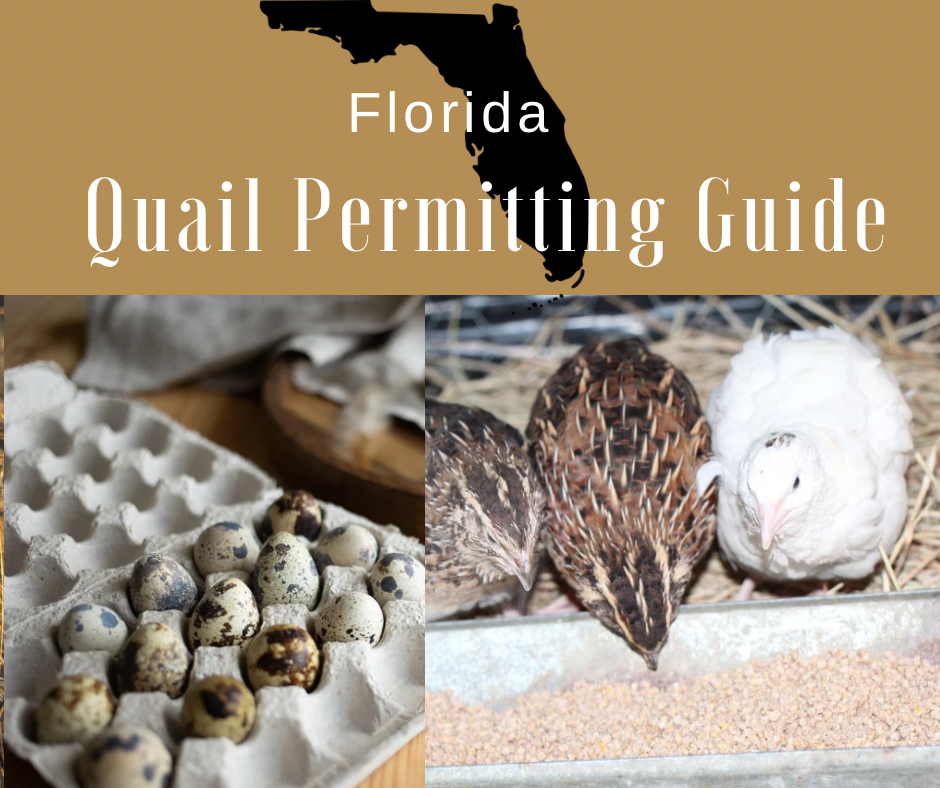
Incubating Coturnix quail eggs is a rewarding process that can yield a steady supply of chicks for your flock. With the right setup and careful attention to detail, you can successfully hatch quail eggs in just a few weeks. This step-by-step guide will walk you through the incubation process, from selecting and handling eggs to maintaining the ideal temperature and humidity for a successful hatch.
Selecting and Handling Quail Eggs
Choosing the Right Eggs
- Healthy Eggs- Select eggs that are clean, well-formed, and free of cracks or deformities. Eggs with misshapen shells or visible cracks are less likely to hatch successfully.
- Size and Color- Choose eggs of uniform size and color, as this can indicate good health and fertility. Eggs that are too large or too small may not develop properly.
Storing Eggs Before Incubation
- Storage Conditions- If you need to store eggs before incubating them, keep them in a cool, dry place with a temperature between 50-60°F (10-15°C) and a relative humidity of around 70%. Avoid refrigerating the eggs, as this can damage the embryo.
- Orientation- Store eggs with the pointed end facing down. This helps keep the yolk centered and prevents the air cell from moving, which is crucial for proper development.
- Storage Duration- Try to incubate eggs within 7 days of being laid. Fertility and hatchability decrease significantly after 10 days of storage.
Setting Up the Incubator
Choosing an Incubator
- Types of Incubators-There are several types of incubators available, ranging from simple still-air incubators to more advanced forced-air models with automatic egg turners. For beginners, a forced-air incubator with an automatic turner is recommended, as it provides consistent temperature and humidity control.
- Capacity- Choose an incubator that fits the number of eggs you plan to hatch. Quail eggs are small, so even a modest-sized incubator can hold a large number of eggs.
Preparing the Incubator
- Cleaning and Disinfecting- Before placing your eggs in the incubator, thoroughly clean and disinfect it to prevent the spread of bacteria or mold that could harm the developing embryos.
- Setting the Temperature-Set the incubator temperature to 99.5°F (37.5°C) for forced-air incubators. If you’re using a still-air incubator, set the temperature slightly higher, around 101°F (38.3°C), as the air inside may not circulate as evenly.
- Setting the Humidity For the first 14 days, maintain a humidity level of 45-55%. Use a hygrometer to monitor the humidity and adjust as needed by adding or removing water from the incubator’s water reservoir.
- Egg Turner- If your incubator has an automatic egg turner, ensure it is working properly. If you’ll be turning the eggs manually, be prepared to do so at least three times a day to prevent the embryo from sticking to the shell.
Incubating the Eggs
Placing Eggs in the Incubator
- Loading the Eggs-Place the eggs in the incubator with the pointed end facing down. If you’re using an automatic turner, arrange the eggs in the turner trays. If turning manually, lay the eggs on their side.
- Initial Monitoring-Once the eggs are in the incubator, monitor the temperature and humidity closely for the first 24 hours to ensure they remain stable. Adjust settings as needed to maintain the ideal environment.
Turning the Eggs
- Automatic Turning- If your incubator has an automatic turner, it will rotate the eggs regularly to prevent the embryo from sticking to the shell. The turner should stop turning the eggs on day 14, which is known as “lockdown.”
- Manual Turning- If you’re turning the eggs manually, do so at least three times a day. Mark one side of each egg with a pencil or marker to keep track of which side is up, and gently rotate the eggs 180 degrees each time.
Monitoring and Adjusting
- Temperature and Humidity- Check the incubator’s temperature and humidity levels daily. Maintaining consistent conditions is critical for successful hatching. Avoid opening the incubator frequently, as this can cause temperature and humidity fluctuations.
- Candling the Eggs- Around day 10, you can candle the eggs to check for development. Use a bright light to illuminate the inside of the egg. A developing embryo will appear as a dark spot with visible blood vessels. Remove any eggs that are clear or show no signs of development, as these are likely infertile or non-viable.
The Final Days (Lockdown Period)
Preparing for Hatching
- Stop Turning- On day 14, stop turning the eggs. If you’re using an automatic turner, remove it or turn it off. If you’re manually turning, simply stop the process. The eggs should remain undisturbed from this point until hatching.
- Increase Humidity- Increase the humidity in the incubator to 65-75% to soften the eggshells and make it easier for the chicks to hatch. This is crucial for preventing the chicks from becoming stuck in the shell.
Watching for Pipping
Pipping is the process where the chick starts to break through the eggshell. The first sign of pipping is a small crack or hole in the shell, usually made by the chick’s egg tooth. This process can take several hours, so it’s important to be patient and avoid interfering.
Hatching
Once pipping begins, it can take anywhere from a few hours to a full day for the chick to fully hatch. The chick will gradually work its way around the shell, creating a circular crack known as “zipping.” Eventually, the chick will push out of the shell completely.
After hatching, leave the chick in the incubator until it is fully dry and active, usually for 6-12 hours. The chick will absorb the remaining yolk sac during this time, which provides it with essential nutrients for its first hours of life.
Caring for New Hatchlings
Moving to the Brooder: Brooder Setup
Once the chicks are dry and active, move them to a pre-warmed brooder with a temperature of around 95°F (35°C). The brooder should be lined with non-slip bedding, such as paper towels or rubber shelf liner, to prevent leg injuries.
Provide shallow water dishes with marbles or small stones to prevent drowning. Offer a high-protein starter feed (24-30%) specifically formulated for game birds or quail. Chicks should have access to food and water immediately after moving to the brooder.
Monitoring Chicks
Monitor the chicks for signs of overheating or chilling. If they huddle together under the heat source, they may be too cold; if they avoid the heat source, they may be too hot. Gradually decrease the brooder temperature by 5°F each week as the chicks grow and feather out.
Keep an eye on the chicks for any signs of illness, such as lethargy, pasty vent (feces blocking the vent), or failure to thrive. Address any issues promptly to ensure a healthy start for your quail.
Incubating Coturnix quail eggs is a relatively simple process that, with careful attention to detail, can yield high hatch rates and healthy chicks. By selecting quality eggs, maintaining consistent temperature and humidity, and providing the right care during the final days and post-hatch period, you can successfully hatch your own quail and enjoy the rewards of raising these fascinating birds. Whether you’re a beginner or an experienced poultry keeper, the joy of seeing new life emerge from an egg never gets old. ��


